Implementing Rails-like Controllers in a No-Rails App
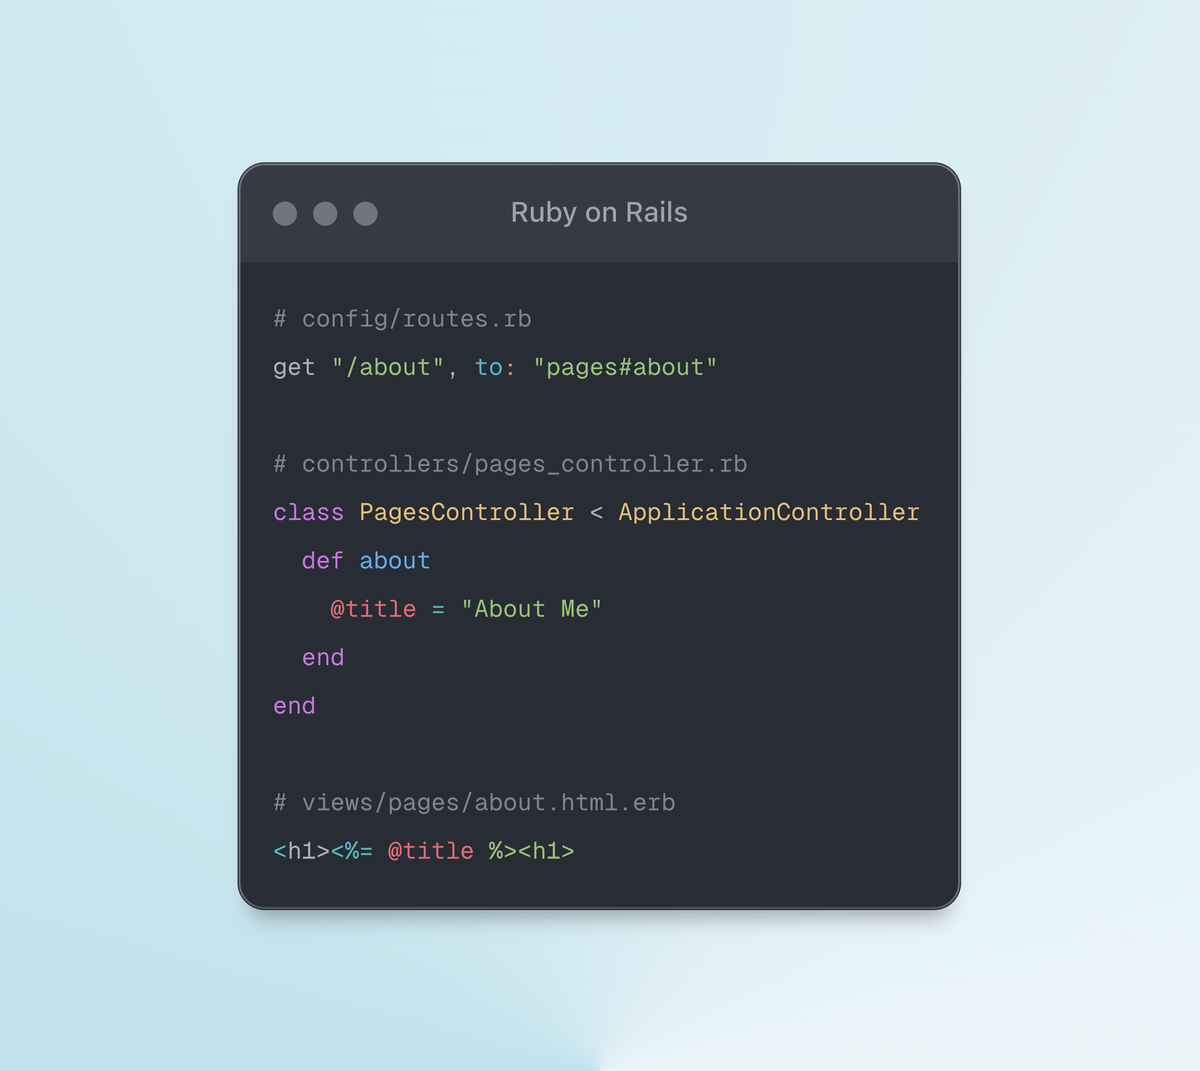
In its essence, a controller class in Rails is a coordinator. It accepts the incoming HTTP request and builds the data required by the view using the domain models. This post shows a highly simplified implementation of the controller pattern for a better understanding of Rails controllers.
Our Goal: To build a highly simplified implementation of the controller pattern to better understand Rails controllers.
If you could take only one lesson from this post, it's this:
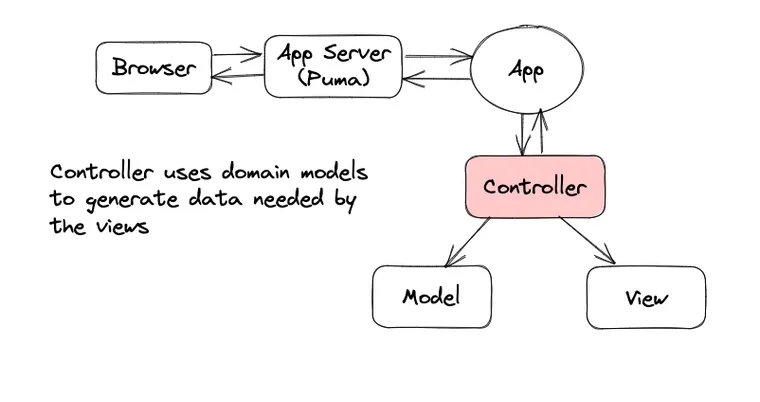
The incoming HTTP request doesn't hit your Rails controller's action method automagically out of thin air (something I used to think a while ago when I wrote ASP.NET MVC controllers), but there's a bunch of framework code behind the scenes that receives the request from the app server like Puma, processes it, creates an instance of the controller (just like any other class), and calls the action method on it. Then it takes the response returned by the action, processes it, and sends it back to the app server, which returns it to the browser.
If the last statement made you curious enough to dig deeper and trace an incoming HTTP request's path to the Rails controller, check out the following post after your read the current article.
In its essence, a controller class in Rails is a coordinator. It accepts the incoming HTTP request and builds the data required by the view using the domain models. I hope that you'll have a much better understanding and appreciation for Rails controllers after reading this lesson.
💡
If you just want to see the final source code, I've uploaded it on GitHub.
I'm a software developer living in beautiful Victoria, BC. This blog is my attempt to share my learnings and to spread the joy of programming in Ruby with the world.
Join our newsletter
Subscribe to get the new posts via email. Your email address is never sold or shared.
 Akshay Khot