
In the last article, we learned how a static website can behave like a responsive single-page application using Turbo Drive and Turbo Frames, which enable faster navigation and dynamic page updates. In today's post, we'll learn about the third major component of Turbo, i.e. Turbo Streams, and compare it against Turbo Frames.
Just like the last post, we won't be using Rails to explore Turbo Streams. Instead, I'll use another Ruby web framework called Sinatra. I decided to try Sinatra for the first time while writing this tutorial and was blown away by its simplicity and conciseness. It doesn't come with all the bells and whistles that you get with Rails, but its simplicity makes it a perfect tool for teaching.
In this post, we will learn:
- How to install and set up a Sinatra app
- Dynamic page updates with Turbo Frames
- Target multiple elements with Turbo Streams
- How Turbo Streams Differ from Turbo Frames
- What Should I Use? Frames or Streams?
This article assumes that you have a basic familiarity with the Hotwire framework. For a brief primer, check out the following article which provides a quick introduction to Hotwire and its component frameworks, such as Turbo Drive, Frames, and Streams. It also compares Hotwire against the traditional approaches for building web applications.
 Akshay Khot
How to Install and Set up a Sinatra App
Sinatra is a simple and minimal web framework for quickly building web applications in Ruby. This section shows how to set up a Sinatra project.
First, let's install the Sinatra framework and Puma web server using the gem install command.
gem install sinatra
gem install puma
Create a new directory for the project. I'll call mine wirestream. Navigate into it and open it in your favorite browser.
mkdir wirestream
cd wirestream
code .
Create a new Ruby script called app.rb that adds a route for the home page.
require 'sinatra'
get '/' do
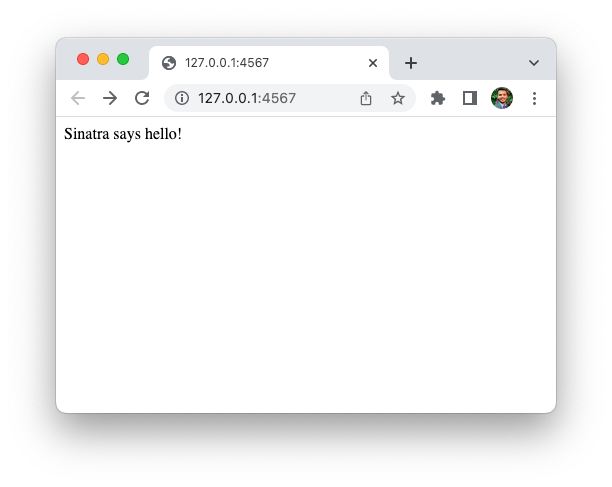
'Sinatra says hello!'
end
Now run that script just like any other Ruby script:
ruby app.rbSinatra is up and running and serving your web application at localhost:8000.
That's it. This is a complete web application. Didn't I tell you how simple Sinatra is? How cool is that?
Now, let's do something interesting. We are going to build a newsletter subscription form that takes the user's name and email, shows a confirmation, and updates the subscriber count as well as the subscriber list, all without a full-page reload.

First, I'll show you how to display a simple confirmation prompt using Turbo Frames. This is to set the context for Turbo Streams, which we'll explore in the next section. For more details on Turbo Frames, check out the following article.
Akshay Khot
Dynamic Page Updates with Turbo Frames
Before we try anything fancy, let's just render a simple HTML page using Sinatra. I'd like to display a index.html page in the views directory when the user visits the home page.
The send_file helper in Sinatra does just that. It takes the name of a file and sends it in the response to an incoming HTTP request to the given route.
require 'sinatra'

get '/' do
  send_file 'views/index.html'
end
Let's create a views directory and add the following index.html file to it. Note that just like in the previous post, I'm using SimpleCSS and Turbo library.
<!DOCTYPE html>
<html lang="en">
<head>
<meta charset="UTF-8">
<meta http-equiv="X-UA-Compatible" content="IE=edge">
<meta name="viewport" content="width=device-width, initial-scale=1.0">
<link rel="stylesheet" href="https://cdn.simplecss.org/simple.min.css">
<script type="module">
import * as Turbo from 'https://cdn.skypack.dev/@hotwired/turbo';
</script>
<title>Sinatra with Hotwire</title>
</head>
<body>
<header>
<nav>
<a href="/">Home</a>
<a href="/contact">Contact</a>
<a href="/about">About</a>
</nav>
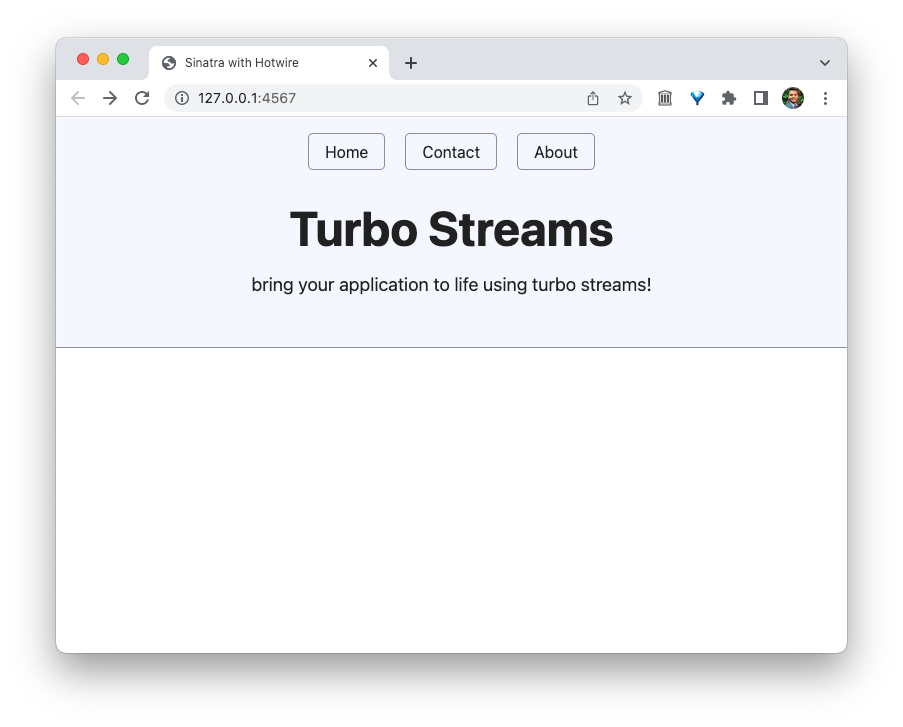
<h1>Turbo Streams</h1>
<p>bring your application to life using turbo streams!</p>
</header>
<main>
</main>
</body>
</html>Now reload the page and you'll be greeted with this page.
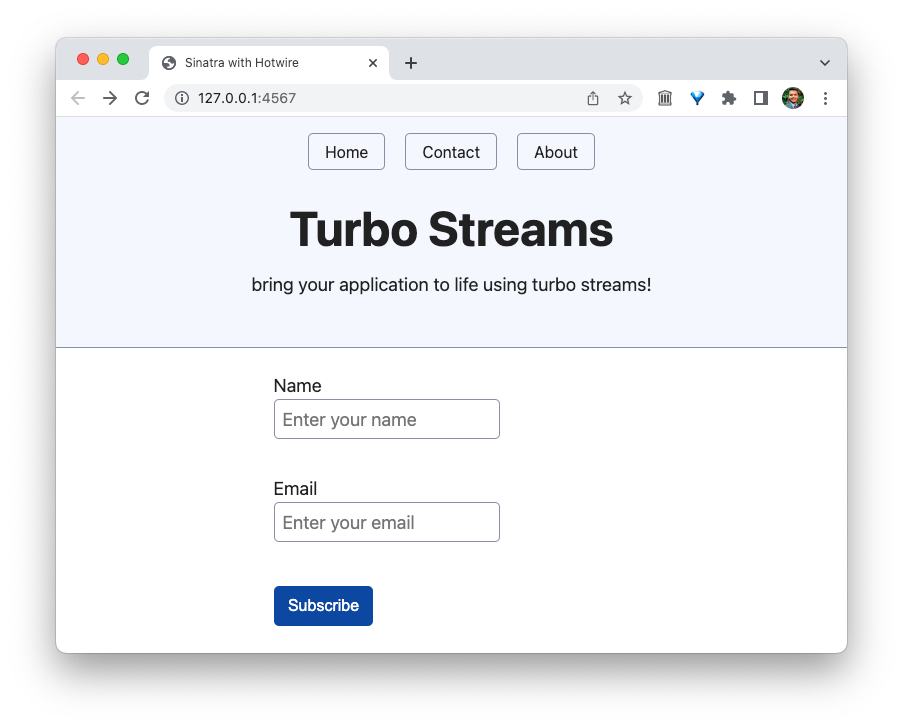
Next, we'll need a subscription form so our readers can subscribe to the blog. Update the <main> tag to add a very basic HTML form that asks for the reader's name and email address.
<main>
  <div style="width: 50%; margin: 0 auto;">
    <turbo-frame id="newsletter">
      <form action="/subscribe" method="post">
        <div>
          <label for="name">Name</label>
          <input type="text" name="name" id="name" placeholder="Enter your name" />
        </div>

        <br />

        <div>
          <label for="email">Email</label>
          <input type="email" name="email" id="email" placeholder="Enter your email" />
        </div>

        <br />
        <button type="submit">Subscribe</button>
      </form>
    </turbo-frame>
  </div>
</main>
Few things to note here:
- We're submitting the form to
/subscribepage, which we'll add in the next section. - The form is wrapped inside a
<turbo-frame>tag whoseidattribute is set tonewsletter.
Reload the page and you should see the nice-looking form.
Displaying Confirmation Prompt
Since we've wrapped the whole form inside a <turbo-frame> element, we can send a <turbo-frame> tag with the matching id in the response to form submission, and Turbo will replace the subscription form with a confirmation.
First, add a new route in Sinatra at /subscribe to handle the form submissions.
require 'sinatra'

get '/' do
  send_file 'views/index.html'
end

post '/subscribe' do
  erb :greet
end
This time, we're using the erb method instead of send_file. Why? Instead of sending a plain HTML file, we want to insert the name and email of the subscriber in the confirmation prompt HTML response. ERB will let us use a template that will be filled dynamically. Also, passing the :greet symbol tells Sinatra to look for a greet.erb file in the views directory. A great example of using Conventions over configuration.
Let's add the views/greet.erb template that contains the confirmation prompt, filled with the user's name and email. The params hash contains the form data submitted by the user.
<turbo-frame id="newsletter">
  <div style="background-color: azure; padding: 1em; font-weight: bold; border-radius: 1em;">
    <p>
      Thanks for subscribing, <%= params[:name] %>
    </p>
    <p>
      We've sent a confirmation email at: <%= params[:email] %>.
    </p>
    <p>
      Please confirm.
    </p>
  </div>

  <p>
    <a href="/">Go Back</a>
  </p>
</turbo-frame>
Now restart the server, reload the browser, and submit the form. Be prepared to be amazed!!!
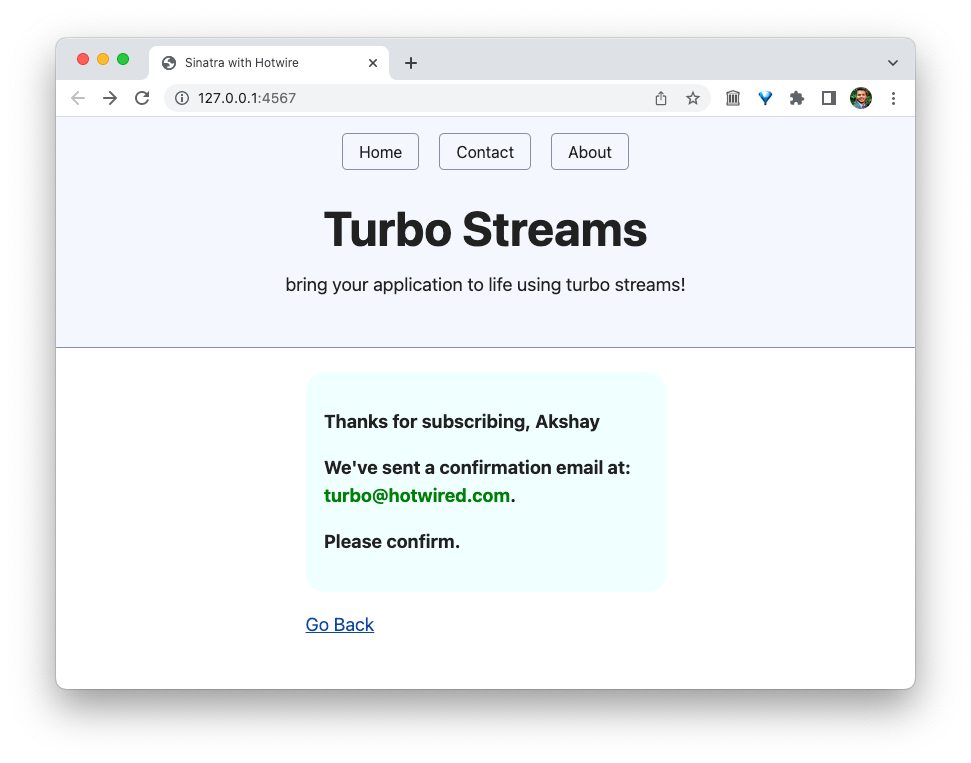
Upon submission, the browser sends the name and the email to the Sinatra app on the /subscribe route, which uses the greet.erb template to insert the corresponding values from the params hash.
Then our application sends this Turbo Frame response to the browser, where the Turbo library extracts the <turbo-frame> element with the matching newsletter id and replaces the form with the confirmation prompt.
The Go Back link works too, since it's inside the <turbo-frame> element. When you click it, Turbo replaces the confirmation modal with the original form extracted from the <turbo-frame> element on the index.html page.
That's it! With just a few HTML tags, we have a dynamic UI for our newsletter.
What's more, we haven't written a single line of JavaScript so far!
When used with Turbo Drive, Turbo Frames take us more than 70% on the way to becoming a single-page application. For the last 30% of the SPA gains (the numbers are made up, btw), we'll need Turbo Streams.
Target Multiple Elements with Turbo Streams
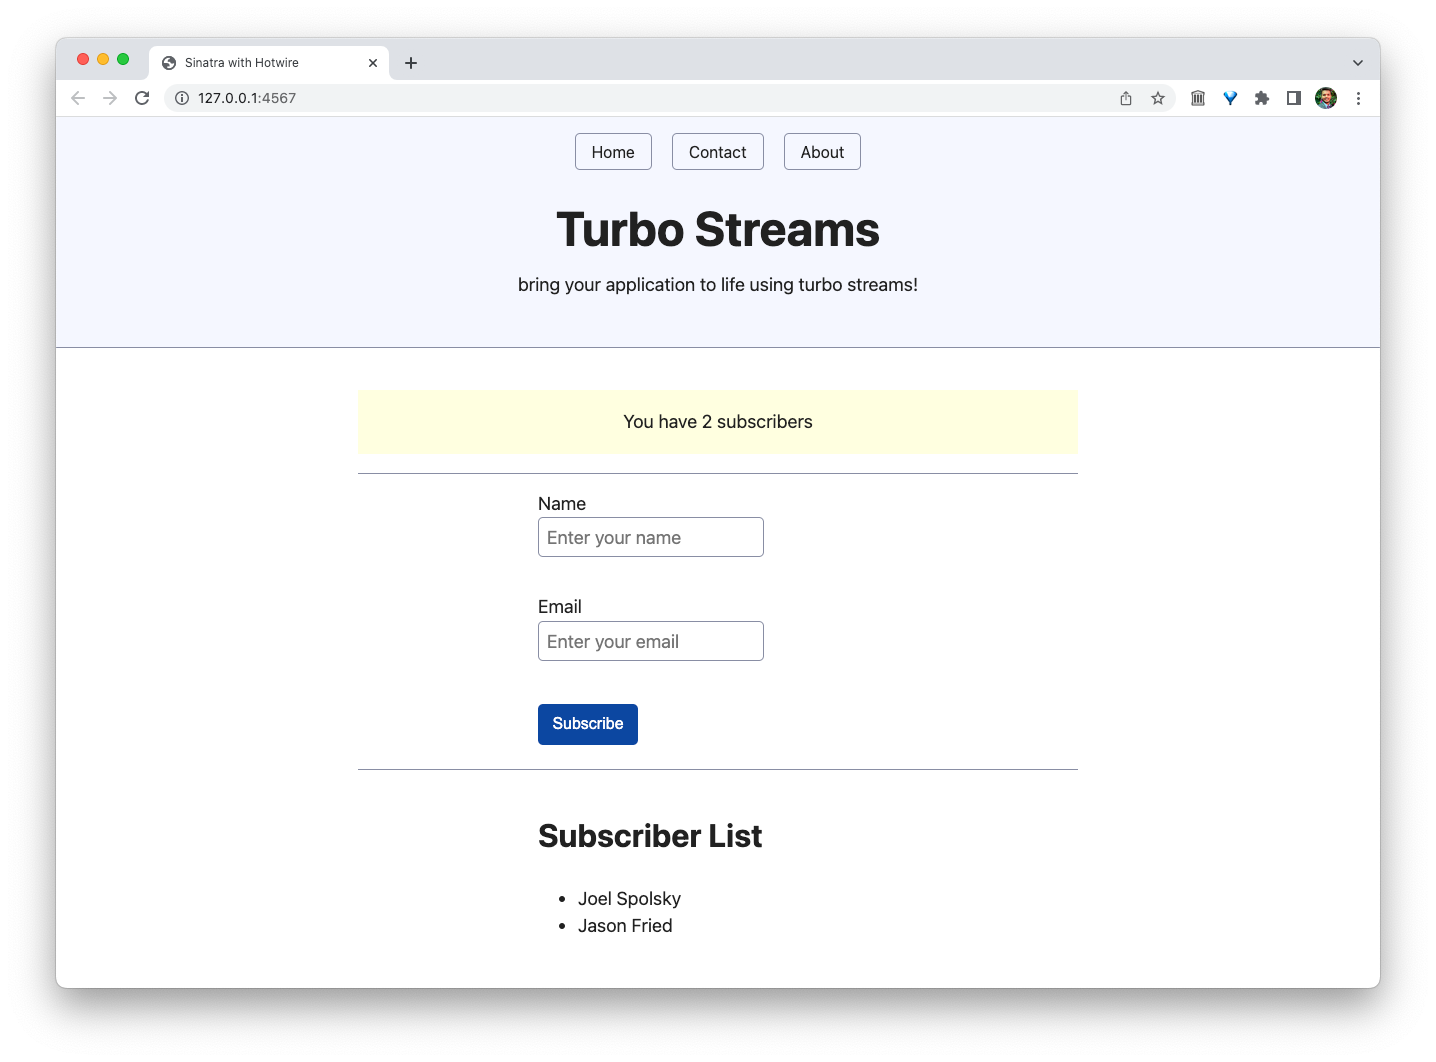
Turbo Streams deliver page changes as fragments of HTML wrapped in <turbo-stream> tags. Each stream element specifies an action together with a target ID to declare what should happen to the HTML inside it.Let's demo Turbo Streams with a different example. I've added two new components: the total subscriber count and a list of all subscribers. When the user submits the form after entering their details, the application will update both the subscriber count and the list of subscribers.
Technically, we could achieve this using Turbo Frames by wrapping all three components (subscriber count, newsletter form, and the subscriber list) inside a <turbo-frame> tag and replacing it with the updated response. However, Turbo Streams let us send multiple separate elements specifically targeting only those elements that need to change.
Let's update the index.html to add the above components. Here's the updated <main> tag.
<main>
  <p id="subscriber-count" style="padding: 1em; background-color: lightyellow; text-align: center;">
    You have 2 subscribers
  </p>

  <hr />

  <div style="width: 50%; margin: 2em auto;">
    <div id="newsletter">
      <form action="/subscribe" method="post">
        <div>
          <label for="name">Name:</label>
          <input type="text" name="name" id="name" placeholder="Enter your name" />
        </div>

        <br />

        <div>
          <label for="email">Email</label>
          <input type="email" name="email" id="email" placeholder="Enter your email" />
        </div>

        <br />
        <button type="submit">Subscribe</button>
      </form>
    </div>
  </div>

  <hr />

  <div style="width: 50%; margin: 0 auto;">
    <h3>Subscriber List</h3>
    <ul id="subscriber-list">
      <li>Joel Spolsky</li>
      <li>Jason Fried</li>
    </ul>
  </div>
</main>
Note that I've also replaced the <turbo-frame> tags with plain-old <div> tags. Since we're going to use Turbo Streams, we don't need them anymore.
We also need to update the /subscribe route to do two things:
- Set the
Content-Typeresponse header to indicate it's going to be a Turbo Stream response. That's how Turbo knows to extract and modify the targeted elements on the page. (Note: You don't need to worry about this in Rails). - Render a new template that contains all the Turbo Stream elements we want to send to the browser. Each stream element corresponds to a specific change we want to make in the application UI, e.g. appending, replacing, or removing an element from the page.
Here's the new app.rb file:
require 'sinatra'

get '/' do
  send_file 'views/index.html'
end

post '/subscribe' do
  response.headers['Content-Type'] = 'text/vnd.turbo-stream.html; charset=utf-8'
  erb :subscribe
end
Finally, we need a new views/subscribe.erb template containing the stream elements. All Turbo Stream elements follow the same convention: a <turbo-stream> element containing a <template> element.
The <turbo-stream> element has two attributes:
action: The action we'd like to perform on this stream, e.g.append,remove, etc.target: Theidof the element on the page on which we'd like to perform the above action.
The <template> contains the actual HTML we'd like to send to the client. In general, the <template> tag is a special tag that holds the HTML that is not to be rendered immediately when the page is loaded. The Turbo library uses it to modify the existing elements on the page.
<turbo-stream action="replace" target="subscriber-count">
  <template>
    <p id="subscriber-count" style="padding: 1em; background-color: lightyellow; text-align: center;">
      You have <%= rand(100) %> subscribers.
    </p>
  </template>
</turbo-stream>

<turbo-stream action="append" target="subscriber-list">
  <template>
    <li><%= params[:name] %></li>
  </template>
</turbo-stream>
The first <turbo-stream> element tells Turbo to replace the element with the id subscriber-count with the content under the <template> tag (new subscriber count). The second one tells it to append the template content (subscriber name) to the element with id subscriber-list.
Let's restart the Sinatra server and reload the page. When you submit the form after entering your name and email address, our application sends the above response HTML containing the streams. Upon receiving the response, Turbo inspects the response headers, realizes that it's a Turbo Stream response, and dynamically updates the subscriber count and the subscriber list.

Using just a few changes in HTML and following a certain set of conventions, we're able to dynamically update parts of our web application.
The great thing about all this is that we haven't written a single line of JavaScript so far!! Also, we can reuse the existing templates on the server instead of having to recreate them on the client using a SPA framework. This is a big win.
The key to Turbo Streams is the ability to reuse your existing server-side templates to perform live, partial page changes. The HTML template used for the first-page load is the same template that’ll be used to later update the page dynamically.
This is at the essence of the HTML-over-the-wire approach: You don’t need to serialize the updated data as JSON, receive it in JavaScript, and render a client-side template. You're reusing the standard server-side templates.
How Turbo Streams Differ from Turbo Frames
At first glance, there doesn't seem to be any difference between Turbo frames and Turbo Streams, other than Turbo Streams let you stream live updates via WebSockets.
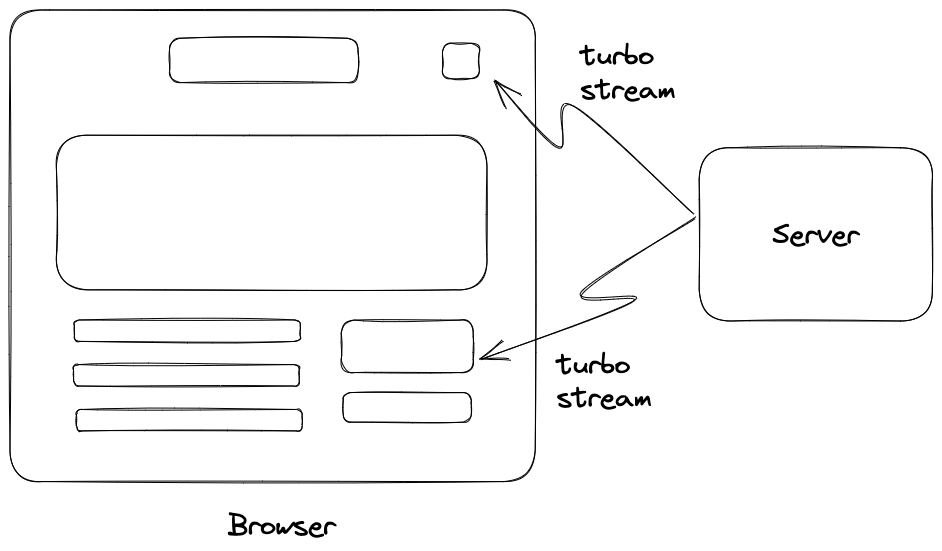
However, the really cool thing about Turbo Streams is that they let you target and update multiple, unrelated parts on your page in one response. This lets your application REALLY behave like a single-page application. In comparison, Turbo Frames only allow you to target a single element (frame) at a time.
Another big difference between the two is that Turbo Frames can only let you replace the existing frame. They won't let you append, or prepend to existing content. You can't remove any elements on the page as well.
Finally, a common misconception regarding Turbo Streams (I used to think this, too) is that it can only be used with WebSockets to send live updates. This is not true. You can use it on POST requests after form submissions or button clicks to update multiple elements on your website. You can also use them on GET requests via link clicks.
What Should I Use? Turbo Frames or Turbo Streams?
Turbo Frames are great when we want to divide a page into independent components that can be updated on their own, without impacting the rest of the page.
In contrast, Turbo Streams are useful when we want to make multiple changes to multiple elements on a page with a single request, e.g. form submission or button clicks.
As a general rule, start with Turbo Drive, which you get for free. When you need more interactivity, use Turbo Frames. Finally, for the last bit of interactivity where Frames aren't enough and you truly want to make your application come to life, use Turbo Streams.
This is what I love about Hotwired approach to building web applications. You don't have to go all guns blazing for your simple website that just needs to render a few pages. You can enhance it progressively, using advanced tools only when they're needed.
This wraps up our brief exploration of Turbo Streams. I hope you have a better understanding of the use cases for Turbo Streams and how they differ from Frames. We also saw how you don't really need Rails to learn, play, and experiment with Turbo. So just create that Sinatra app, drop in Turbo, and go wild. There's really no limit to what you can build using Turbo.
If you're interested in exploring further to build something real and more substantial than a fake newsletter form, check out the following tutorial which builds a to-do list using Hotwire and Rails.
Akshay Khot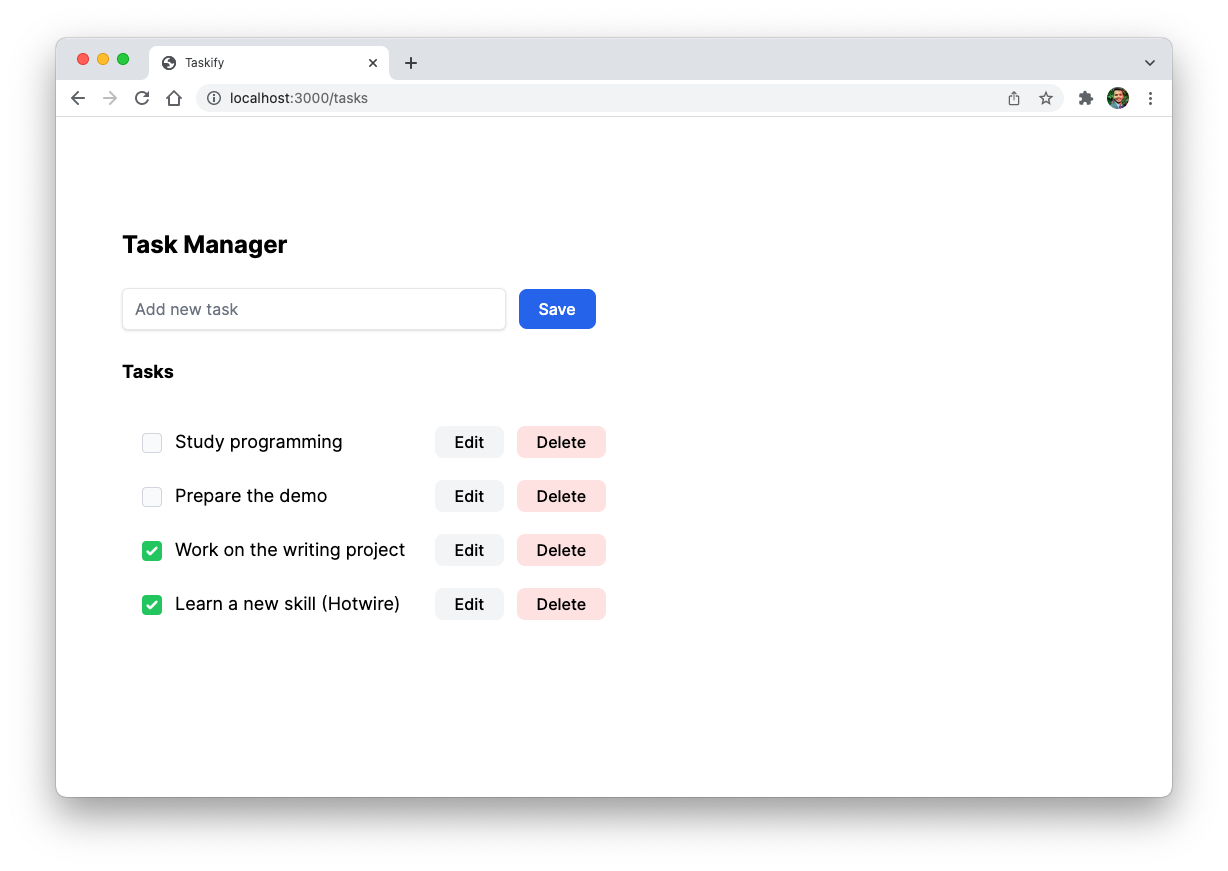
I have found Turbo's development experience much more intuitive and pleasurable than the countless SPA frameworks I've tried over the years. Now after working full-time for more than a year on a Hotwired app that replaced a big React codebase, I am more convinced than ever that Hotwire is here to stay.
I hope you found this article useful and that you learned something new. However, I've got a challenge for you. As things stand now, the newsletter form is not getting cleared when you hit submit. The name and email values stay in the form, which is bad for user experience.
If you can solve this, please reply in the comment. You don't have to post the code, just describe how you'd go about this. I'm sure you'll be able to solve it.
If you have any questions or feedback, didn't understand something, or found a mistake, please leave a comment below or send me an email. I look forward to hearing from you.
Please subscribe to my blog if you'd like to receive future articles directly in your email. If you're already a subscriber, thank you.